The Ultimate Guide to Custom Keybinds: Finding the Perfect Setup for You
The Ultimate Guide to Custom Keybinds: Finding the Perfect Setup for You . f you’ve ever struggled with default keyboard settings in a game, software, or even daily tasks, you’re not alone. I used to think that adapting to the default keybinds was the best approach, but over time
3/7/20252 min read


I still remember the time when I first started experimenting with custom keybinds. It felt unnecessary at first—why change something that already works? But as I got deeper into gaming and productivity, I realized that default keybinds aren’t always the most efficient. Finding the perfect setup for me took time, but once I got it right, everything changed.
Why Custom Keybinds Matter
Many people stick to default keybinds, assuming they are the best. But let me tell you, once you tweak them according to your preferences, you unlock a whole new level of comfort and efficiency. Whether you are gaming, programming, or working on an Excel spreadsheet, customizing your keybinds can significantly improve speed and precision. For me, it was the difference between being an average player and a much more responsive one.
Step 1: Understanding Your Needs
Before changing anything, I first analyzed how I use my keyboard. I made a note of which keys I frequently pressed and how much finger movement was required. In FPS games, for example, I noticed that my reload and melee buttons were too far apart, leading to slower reactions. In video editing, certain shortcuts felt awkward, requiring too much effort. Identifying these inefficiencies helped me tailor a setup that worked best for me.
Step 2: Choosing the Right Layout
This was the tricky part. Everyone haas different preferences, and there is no universal best layout. I started with the basics:
Gaming (FPS & MOBA): I moved melee and grenade to keys that were easier to reach without taking my fingers off movement controls. My ultimate ability in MOBA games got assigned to my mouse for quicker access.
Productivity: I remapped copy-paste shortcuts to be even closer and adjusted Photoshop shortcuts to fit my workflow better.
Typing & Writing: I ensured my most-used symbols were within easy reach to avoid stretching my fingers unnecessarily.
Step 3: Testing and Adjusting
Custom keybinds require constant tweaking. I remember thinking my first setup was perfect—until I started playing a fast-paced game and kept misclicking. That’s when I realized that some keys needed further fine-tuning. Over time, I tested different configurations, made slight modifications, and settled on something that felt right.
A major tip I learned was never force a setup just because someone else recommends it. What works for one person might not work for another. Keep testing and refining until it feels second nature.
Step 4: Using Macros for Efficiency
One of the biggest game-changers for me was integrating macros. In gaming, I used macros to combine complex commands into a single keypress. In work, I automated repetitive tasks—like setting up a macro to insert frequently used text or applying filters in Excel with a single shortcut. These small changes saved me hours over time.
Step 5: Investing in the Right Hardware
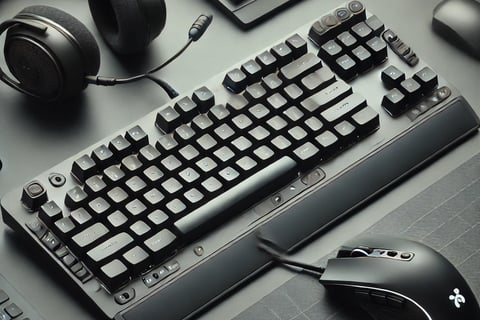
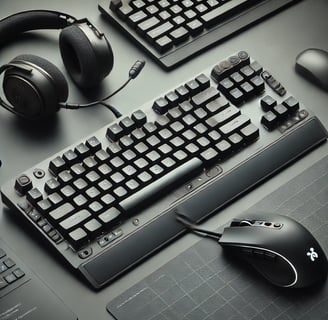
Not all keyboards support custom keybinds properly. I upgraded to a mechanical keyboard with programmable keys, and it made a world of difference. The ability to assign functions to dedicated keys reduced strain and improved efficiency. If you’re serious about custom keybinds, getting a keyboard with onboard memory and programmable buttons is a worthwhile investment.
Step 6: Practicing Until It Feels Natural
At first, using custom keybinds feels uncomfortable, but repetition builds muscle memory. I practiced daily, forcing myself to stick with the new setup. Within a week or two, I no longer had to think about my keybinds—they became an extension of my hands.
mr.Udit kumar
info@worldbesthub.com
+91-8920162717
Contact Us
Keyboard Basics & Functions
Keyboard Shortcuts & Productivity
Gaming Keyboards & Features